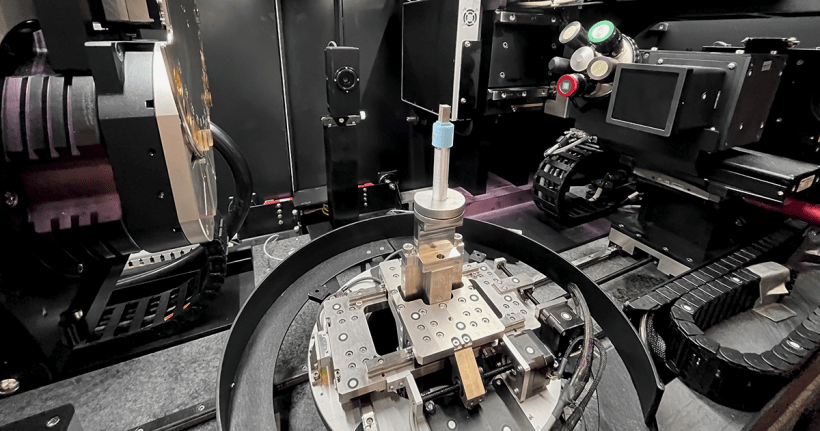
Does it add up? Additive manufacturing is being used to fabricate complex parts quickly, but those parts need a thorough check of their integrity. According to the DOE, 3D-printed parts are typically verified through computed tomography (CT) scans using X-rays to detect weaknesses or errors inside the structure.
ORNL’s algorithm uses machine learning to “rapidly reconstruct and analyze the images to significantly cut down on the cost, time, and number of scans needed to perform an inspection,” according to the DOE. Using the algorithm, researchers at INL have analyzed 30 3D-printed sample parts in under five hours of scan time, while it would have taken more than 30 hours to complete each scan without the software.
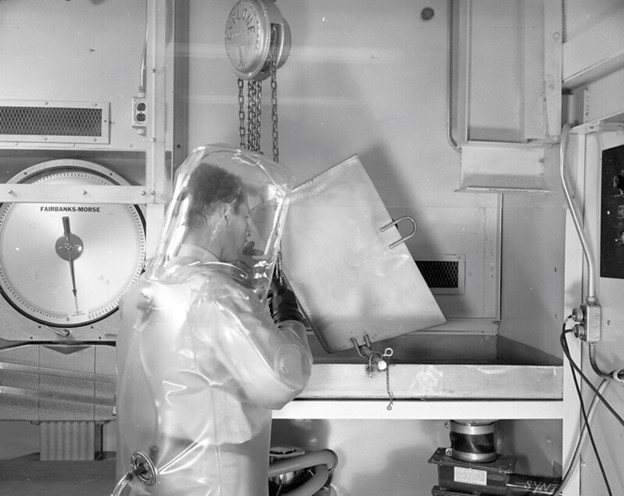
PIE implications: INL researchers often delay postirradiation examination (PIE) on irradiated test materials for the safety of lab technicians during long CT scans, according to the DOE. The CT equipment can also sustain damage from long scans of irradiated material, limiting its operating life and accuracy.
Shorter, faster scans could mean less radiation exposure to technicians, higher-quality data, and faster feedback for developers.
“If we use this algorithm to reduce the scan time for radioactive materials and fuels, it will increase worker safety and the rate we can evaluate new materials,” said Bill Chuirazzi, an instrument scientist and leader of INL’s Diffraction and Imaging group. “Down the road it enables us to expedite the life cycle of new nuclear ideas from conception to implementation in the power grid.”
At ORNL: ORNL researcher Amir Ziabari first developed the algorithm to produce faster, more accurate scans of 3D-printed metal parts and is now training the software to do the same with radioactive materials and fuels.
ORNL publicized Ziabari’s algorithm back in 2022, explaining that he sought a new analysis method because traditional X-ray CT examination was producing flawed images of 3D-printed parts that risked missing defects.
According to ORNL, when metals are being examined by CT, those metals “can totally absorb the lower-energy X-rays in the X-ray beam, creating image inaccuracies that can be further multiplied if the object has a complex shape.” The resulting image flaws can obscure the part defects the scan is intended to reveal. According to ORNL, a trained technician can correct for those flaws, but that correction process is labor intensive. By capturing fewer 2D images and using a machine-learning algorithm to produce a more accurate representation of the part, labor costs are reduced.
The software is being supported through the DOE’s Advanced Materials and Manufacturing Technologies program to accelerate commercialization of new materials and manufacturing technologies through demonstration and deployment.
